Where this helps
- New conveyor layouts
- Existing line improvements
- Hygiene-sensitive production areas
- Lines with regular product changeover
Make sure the conveyor can be cleaned, adjusted and maintained without making day-to-day production harder.
Conveyors need room for operators, maintenance, cleaning, adjustment and safe movement. A layout that only fits the machine footprint may cause problems once the line is running.
Access points should be considered alongside product flow, especially around drives, bends, guards and transfer areas.
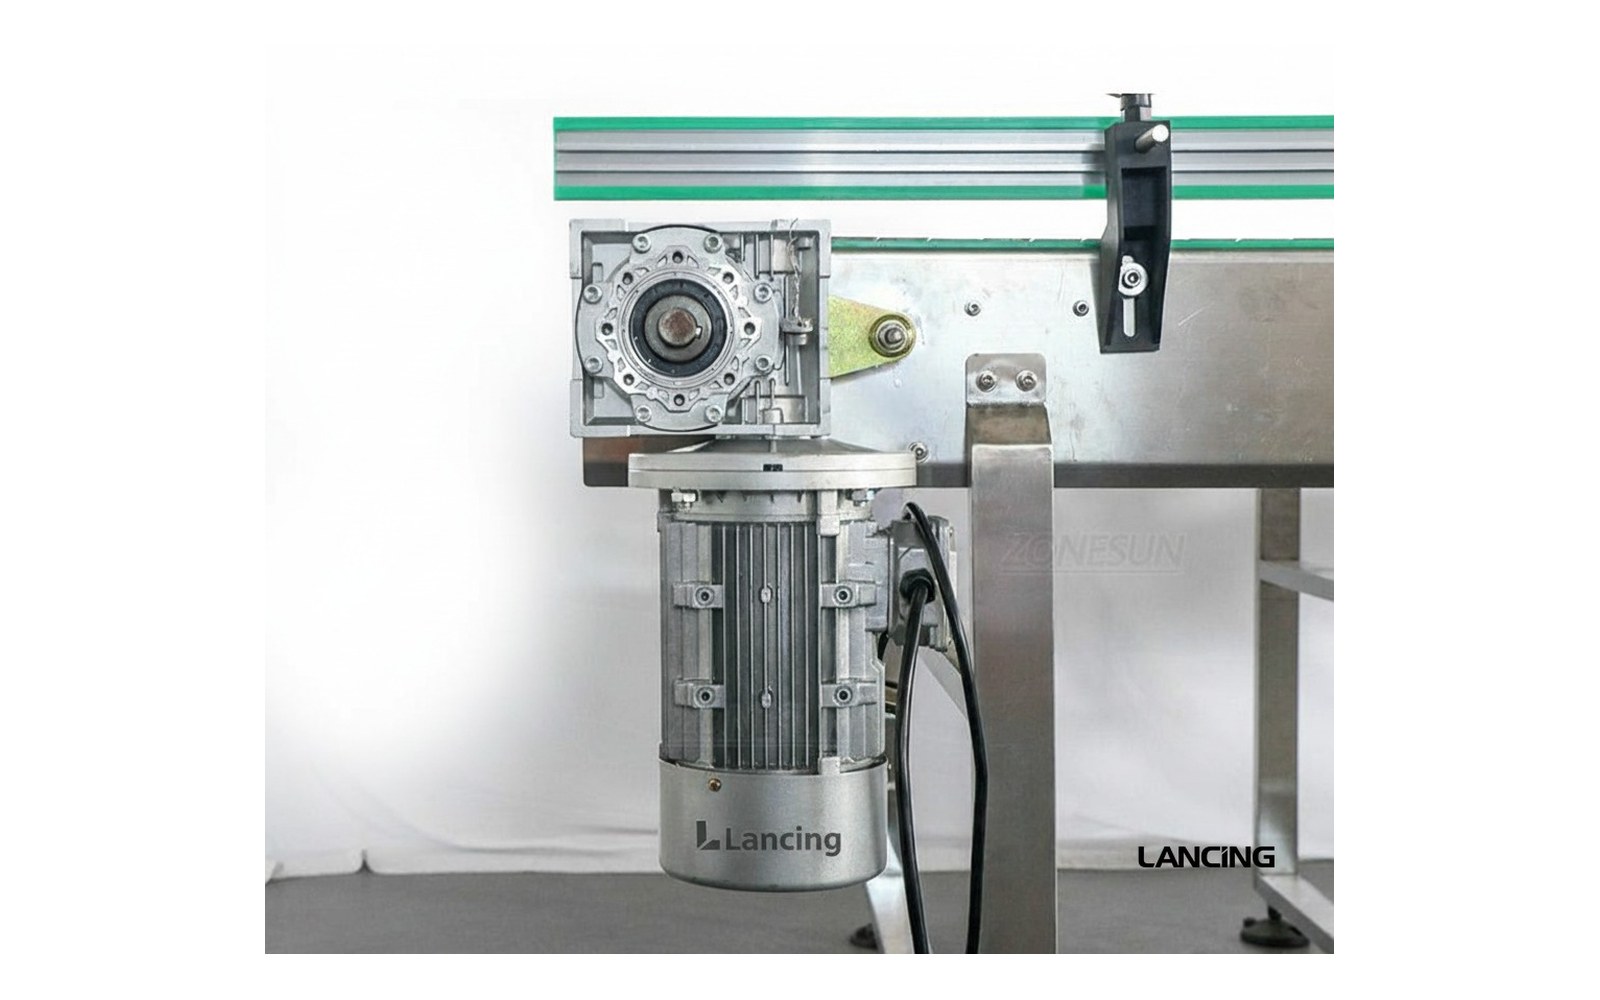
Small details at planning stage can prevent unstable transfers, awkward access and output issues later.
Confirm size, weight, base shape and stability before choosing the conveyor type.
Match conveyor height, speed and direction to the equipment on either side.
Keep room for loading, cleaning, adjustment, inspection and safe operation.
Decide whether the line needs accumulation to protect output during short stops.
These related pages help narrow down the conveyor type, layout and quote details.
Continue with practical conveyor information for your enquiry.
Open page →Continue with practical conveyor information for your enquiry.
Open page →Continue with practical conveyor information for your enquiry.
Open page →Clear answers for buyers comparing conveyor options and preparing an enquiry.
Poor access can make cleaning, adjustment and repairs slower, which can increase downtime.
Yes. It is much easier to include access in the layout than to fix after installation.
Drives, transfers, guide rails, guards, bends, sensors and cleaning areas usually need attention.
Get practical conveyor advice based on the way your product needs to move through the line.
Maintenance access is a design input, not an afterthought. The layout should show how technicians reach the motor, drive, tensioning, bearings, belt or chain return, wear parts, sensors, guides, guards and controls. It should also show the path for removing the largest replacement part without dismantling unrelated machinery.
Use the final conveyor bill of materials to create the spare-parts schedule. Generic descriptions such as “belt” or “sensor” are not enough for a production-critical line. Record the exact reference, quantity used, location and replacement or setup information where available.
Routine operator checks can include cleanliness, abnormal noise, product build-up, guide damage and visible belt or chain condition. Planned maintenance can include tracking, tension, bearings, drive components, wear surfaces, sensors, fasteners and guards. Major replacements can require lifting, long access and line isolation.
Place frequent tasks where they can be completed without entering restricted areas or removing heavy guards. Where a task requires isolation or controlled access, the project risk assessment and site procedure should define the method. This page does not replace those safety documents.
Classify parts as consumable, routine wear, recommended or production-critical. Consider failure likelihood, supplier lead time, shelf life, storage condition, replacement time and whether the site has a duplicate conveyor using the same component. Avoid stocking an incompatible substitute simply because it appears dimensionally similar.
For belts and chains, retain the material, profile, width, length or link count, joining method and any special features. For guides and change parts, record format and setting. For drives and sensors, retain electrical and configuration details. Link spares to the final drawing or equipment reference.
Use the project-delivery page to connect maintenance and handover information to installation and commissioning.
| Task or component | Access information | Handover record |
|---|---|---|
| Cleaning and inspection | Surfaces, return path, guides, guards and residue collection areas. | Frequency, method and release checks. |
| Belt or chain adjustment | Tracking, tension, joining and safe access to adjustment points. | Settings, method and limits from final design. |
| Drive and motor | Isolation, guard removal, lifting, coupling and replacement path. | Model, supply, control parameters and spare reference. |
| Bearings and wear parts | Inspection points, lubrication policy and replacement clearance. | Locations, quantities and part references. |
| Sensors and controls | Adjustment, cleaning, cable access, replacement and configuration. | Positions, settings, signal function and spare details. |
| Side guides and change parts | Tool access, format settings, wear and repeatability. | Format schedule and stored settings. |
| Guards and safety devices | Opening/removal, interlock access and inspection. | Approved arrangement and test procedure. |
| Major component removal | Route, lifting equipment, temporary supports and adjacent equipment. | Method statement input and required clearances. |
Record repeated tracking corrections, abnormal noise, heat, vibration, chain engagement, sensor contamination, guide damage and product jams. A trend can show a failing bearing, worn wear strip, loose support or changing product condition before the conveyor stops. Use competent maintenance methods and the component manufacturer’s instructions.
When troubleshooting, separate product, mechanical and controls causes. A jam may begin with a changed bottle base, an out-of-position guide, an intermittent sensor or a downstream machine that stops without signalling. Preserve photographs, event times, fault messages and affected samples.
After maintenance, verify guards, fasteners, settings, tracking, sensors and normal stop/restart before production release under the site procedure.
These answers define the evidence needed for a reliable specification and quotation.
Use the final design and site risk to identify belts or chains, wear strips, bearings, drive parts, sensors, guide components and fasteners. Stock level depends on failure consequence, lead time and replacement time.
Enough to complete the defined task and remove the component using the intended tools or lifting method. The value is design-specific and should be shown as an envelope on the layout.
Possible causes include uneven tension, contaminated or damaged belt, misaligned supports, worn components, load position or frame movement. Record the condition and correct the cause rather than repeatedly adjusting without diagnosis.
Record sensor position, target, function, timer or logic relationship and any teach or configuration method, together with the relevant product formats and signal list.
Verify guards and fasteners, belt or chain condition and tracking, guide settings, sensors, controls, normal running, stop and restart under the site return-to-service procedure.
Access is useful only when the maintenance team can identify the fitted part, isolate the equipment, remove it without disturbing another machine and prove the conveyor after replacement. The as-built component schedule should therefore be reviewed with the layout and guarding before handover.
Classify spares by production consequence and lead time, not by price alone. Record the exact belt or chain, drive components, sensors, guide parts and safety devices used. The critical-spares and maintenance guide provides a complete classification and post-maintenance check.