Where this conveyor route helps
- Inkjet, laser or label coding routes
- Vision and manual inspection points
- Checkweigher or reject areas
- Finished pack transfer before packing
Present products consistently to coders, printers, vision systems, checkweighers, manual inspection and packing areas.
Coding and inspection depend on stable presentation. Conveyor speed, product spacing, side guides and access for operators or sensors can all affect line reliability.
For the clearest advice, share the pack format, production speed, available floor space and the machines before and after the conveyor. That makes it easier to confirm whether a straight, curved, incline, infeed, outfeed or accumulation route is the right starting point.
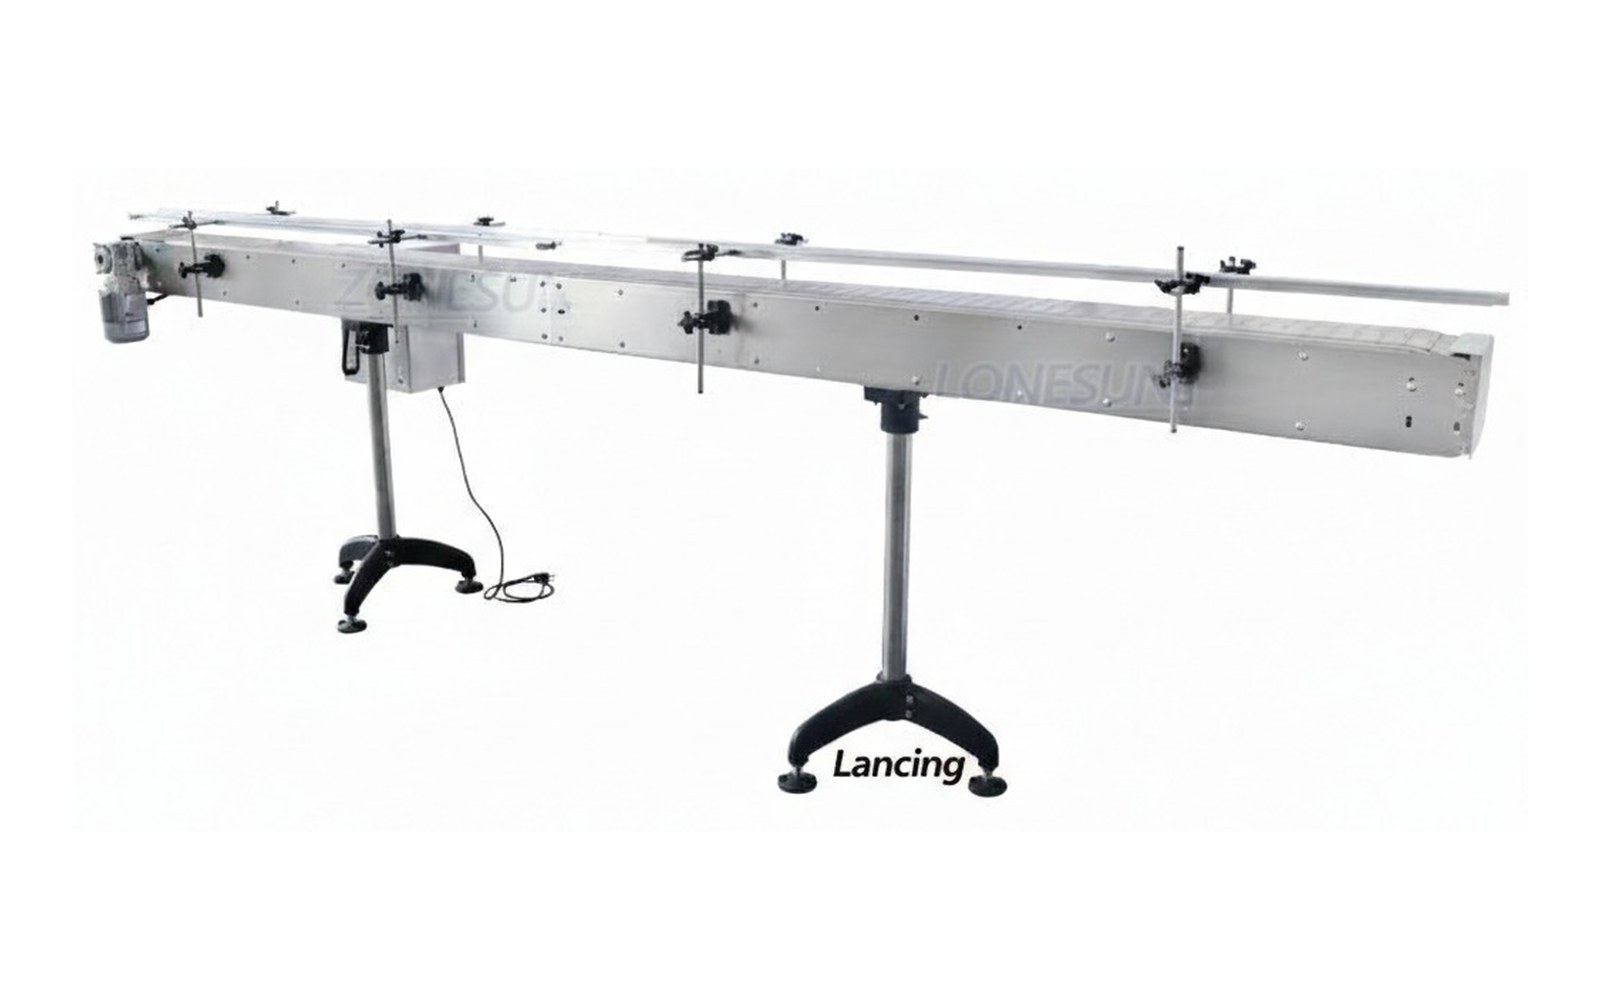
Small details at the planning stage can prevent jams, unstable transfers and operator access problems once the line is running.
Confirm size, weight, base shape and stability before choosing the conveyor route.
Match conveyor height, speed and transfer direction to the equipment on either side.
Keep access for loading, cleaning, adjustment, inspection and safe day-to-day use.
Decide whether the line needs accumulation to protect output during short stops.
These pages help narrow down the conveyor type, application and quote details.
Continue with practical conveyor information for this part of your line.
Open page →Continue with practical conveyor information for this part of your line.
Open page →Continue with practical conveyor information for this part of your line.
Open page →Clear answers for buyers comparing conveyor options and preparing an enquiry.
Code quality and readability can be affected by unstable product speed or inconsistent presentation.
Yes. Conveyor length, height and access can be planned so operators or sensors can check products without creating unsafe reach or bottlenecks.
Bottles, jars, tubs, cartons, trays and many finished packs can be handled when the conveyor type and guides match the product.
Get practical conveyor advice based on the way your product actually needs to move through the line.
Coding and inspection equipment can only work consistently when the conveyor presents the product in a controlled position and speed range. The required print or inspection face, sensor trigger point, encoder relationship, product pitch and reject path should be defined with the selected equipment supplier. The conveyor then provides the mechanical presentation and line interface.
Printer technology, ink, code content, substrate and verification belong with Coding Machinery. This page is limited to the conveyor support, spacing, sensing and integration needed to carry a suitable pack through that process.
Identify the surface to be coded or inspected and the maximum movement permitted relative to the device. Side guides, top hold-downs, side belts or side-grip sections may be considered where suitable, but they must not cover the target area or damage the pack. Flexible pouches, tapered containers and round bottles need particular attention to presentation.
The conveyor should maintain the required speed through the process zone. If speed can vary, an encoder or other synchronisation method may be needed according to the equipment. State whether the sensor-to-device distance is fixed and how changeover positions are repeated.
A trigger sensor must see one clear event per product. Closely spaced, transparent, reflective or irregular packs may need a selected sensing method or upstream spacing control. Test the fastest and closest product condition, as well as stop and restart with a product near the trigger point.
Where a camera verifies the code or an inspection system checks the pack, define the relationship between trigger, result, tracking and reject. The reject route should prevent a failed pack from re-entering accepted output and should provide confirmation where required by the chosen system.
| Item | Information required | Verification |
|---|---|---|
| Target surface and datum | Print/inspection area, orientation, height and allowable movement. | Finished samples and device working envelope. |
| Product pitch | Minimum spacing, arrival variation and spacing method. | Timed product run including close arrivals. |
| Conveyor speed | Normal range, acceleration and constant-speed process zone. | Recorded speed and device supplier requirement. |
| Trigger sensor | Type, position, target feature and response to all formats. | Detection trial with transparent/reflective/difficult samples. |
| Encoder or synchronisation | Need, mounting, ratio and signal ownership. | Integrated print/inspection trial. |
| Product restraint | Guide, side grip, hold-down or support without covering target area. | Quality check after repeated passes. |
| Verification and reject | Result tracking, reject method, confirmation and collection. | Known good/bad challenge sequence. |
| Controls and safety | Ready, fault, no-code, reject, blocked and emergency response. | Signal list and functional test. |
Use production substrate, artwork or surfaces and the intended code or inspection feature. Run the smallest target, highest required speed, closest product pitch and the most variable product presentation. Record readable or accepted output under the selected coding or inspection procedure; do not infer quality from an unloaded conveyor run.
Test a product stopping before, within and after the process zone, then restart. Check duplicate triggers, missed products, code position, camera tracking and reject assignment. If the line can reverse or be manually jogged, define how the coder or inspection system is inhibited or controlled.
The final record should separate conveyor performance from printer, ink, camera or algorithm performance while showing that the combined interface meets the agreed production condition.
These answers define the evidence needed for a reliable specification and quotation.
Print position and image formation can depend on product speed. The selected printer may use a fixed speed range or encoder synchronisation, so the conveyor must provide the required stable motion.
Not always. Transparent, reflective, small or closely spaced packs can be difficult to detect. Select and position the sensor from actual samples and test the full format range.
It can expose the product base for coding or stabilise a suitable container, provided the sidewall and decoration tolerate controlled contact and the entry/exit remain stable.
That belongs with the coding-equipment specification and substrate trial. The conveyor project should provide the agreed product presentation, speed and trigger or encoder interface.
The selected system tracks the inspection result from the trigger or print position to the reject point. Product pitch, conveyor motion, signal timing and confirmation must be tested together.
A printer, camera or sensor can only act consistently when the conveyor controls the target surface. Product position, distance from the device, travel speed, pitch, trigger point and movement during the process all form part of the application. The conveyor therefore needs to be specified with the coding or inspection device rather than treated as a neutral support.
For equipment selection, print technology, messages and consumables, use the specialist guidance at Coding Machinery UK. This site retains ownership of conveyor presentation, transfer, sensing, spacing, rejection and line-recovery requirements around that device.
| Variable | Conveyor definition | Trial evidence |
|---|---|---|
| Presentation datum | Guide or support surface that locates the product relative to the device. | Target remains in the permitted position across the full format range. |
| Target surface | Side, top, label, cap, base or other area exposed during transport. | No obstruction, vibration or uncontrolled movement through the process. |
| Conveyor speed | Operating range and source of the speed reference. | Acceptable code or inspection result at limiting approved conditions. |
| Product pitch | Minimum separation and whether metering is required. | One unambiguous trigger and result for each product. |
| Trigger sensor | Technology, position, target feature, delay and direction of travel. | Reliable detection of transparent, reflective and varied formats. |
| Tracking and decision | Controller responsible for associating a result with a product. | Known test products retain identity to verification or reject. |
| Reject and confirmation | Reject space, device, confirmation and failed-reject response. | Target product removed without disturbing adjacent products. |
Side-grip conveying can expose a bottle base for coding or inspection, but the product must enter, remain controlled and return to base support without tipping, marking or distortion. Test the least rigid and most top-heavy containers, and record belt spacing, contact zone, speed relationship and entry and discharge guides.
Compare related routes through date-coding conveyors, checkweigher integration and machine-interface conveyors.
For each approved pack, record conveyor speed, guide setting, device position, sensor position, trigger delay, message or inspection recipe, reject setting and the challenge sample used. After a changeover, verify the first products at normal speed and repeat the required challenge checks. If a downstream stop changes pitch or backs products into the inspection zone, the controls should define when results remain valid and when the line must reset or clear.
Separate presentation faults from device or process faults by recording the conveyor state.
Only when the conveyor can present the target surface at the required position, speed and distance, with space for the device, sensor and safe access. A product trial should confirm code quality at the limiting conditions.
Side-grip conveying can expose the product base for coding or inspection while controlling the container through the process. The sidewall must tolerate controlled contact and entry and exit stability must be proven.
Drift can result from changing product position, guide movement, variable pitch, trigger location, speed variation or movement of the target surface. Record the conveyor, sensor and device settings before changing the print process.
Printheads, cameras and sensors depend on a repeatable product position. A pack can be correctly transported but still fail inspection if it moves, rotates, arrives too close to another product or is associated with the wrong trigger.
Record the code or inspection area, required stand-off, orientation and target for product detection. Test the shortest gap and any transparent, reflective or irregular format. Where the product base must be exposed for coding or inspection, a side-grip section may be considered after the side-contact surfaces and transfer behaviour are proved.
The control schedule should link product detection, coding or inspection result, reject command and reject confirmation to the same pack. Challenge the sequence at start, stop and restart.
Review side-grip conveyors, the speed and spacing guide and the controls guide.
Reliable coding and inspection depend on presenting the right surface at a known position and keeping the result associated with the correct pack.
The trigger point detects a product and starts a timed or position-based sequence; the inspection point is where the camera, sensor or reader evaluates the required feature. The distance and conveyor movement between them must remain controlled so the result is assigned to the correct pack. Record both datums and the product feature used for detection.
Transparent walls, glossy labels, curved surfaces and reflective backgrounds can change the signal seen by a photoeye or vision system. A sensor that works with one colour or fill state may miss another. Select the sensing principle and target area through trials with every limiting pack, and keep the mounting rigid and repeatable during changeover.
Position tracking is valuable when conveyor speed changes, product travel time varies or the inspection and reject points are separated by a significant distance. A timer assumes predictable movement; an encoder relates the action to measured conveyor travel. The inspection-equipment supplier should define the required signal and resolution, and the conveyor scope should state who provides and validates it.
The system should keep the unreadable result linked to the physical pack until it is positively rejected, stopped for investigation or otherwise handled by the agreed quality procedure. Define the tracking method, reject confirmation and fault response before line testing. Do not rely on an operator finding the pack after products have merged or accumulated.
A reliable coder or inspection system needs a repeatable product datum, a suitable trigger target and enough controlled pitch for the process. If the trigger is missed or the inspection result cannot be associated with the correct product, the line needs a defined quality response rather than an assumed pass.
Record the sensor target for every limiting format and prove the result-to-reject sequence at the closest permitted pitch. Continue with the product-detection sensor guide and reject-handling guide.
A stable continuous conveyor is usually the simplest route, but some packs need a controlled stop, orientation or external carrier so the printer, camera or sensor sees the correct surface. Define the required presentation datum before selecting the conveyor mechanism.
Review indexing conveyors for a stationary operation, lane merging and singulation for one-at-a-time presentation, and puck conveyor systems for unstable or shaped containers that must retain orientation.