Where this helps
- Checkweigher infeed and outfeed routes
- Metal detection and inspection stations
- Reject and packing conveyors
- Stable cartons, trays, tubs and bottles
Plan the feed and discharge around inspection equipment so product spacing, transfers and reject handling work properly.
Checkweighing and inspection stations often need consistent spacing and stable transfer. The conveyor route before and after the equipment should support that requirement.
The downstream layout should also allow for reject handling, packing and safe operator access.
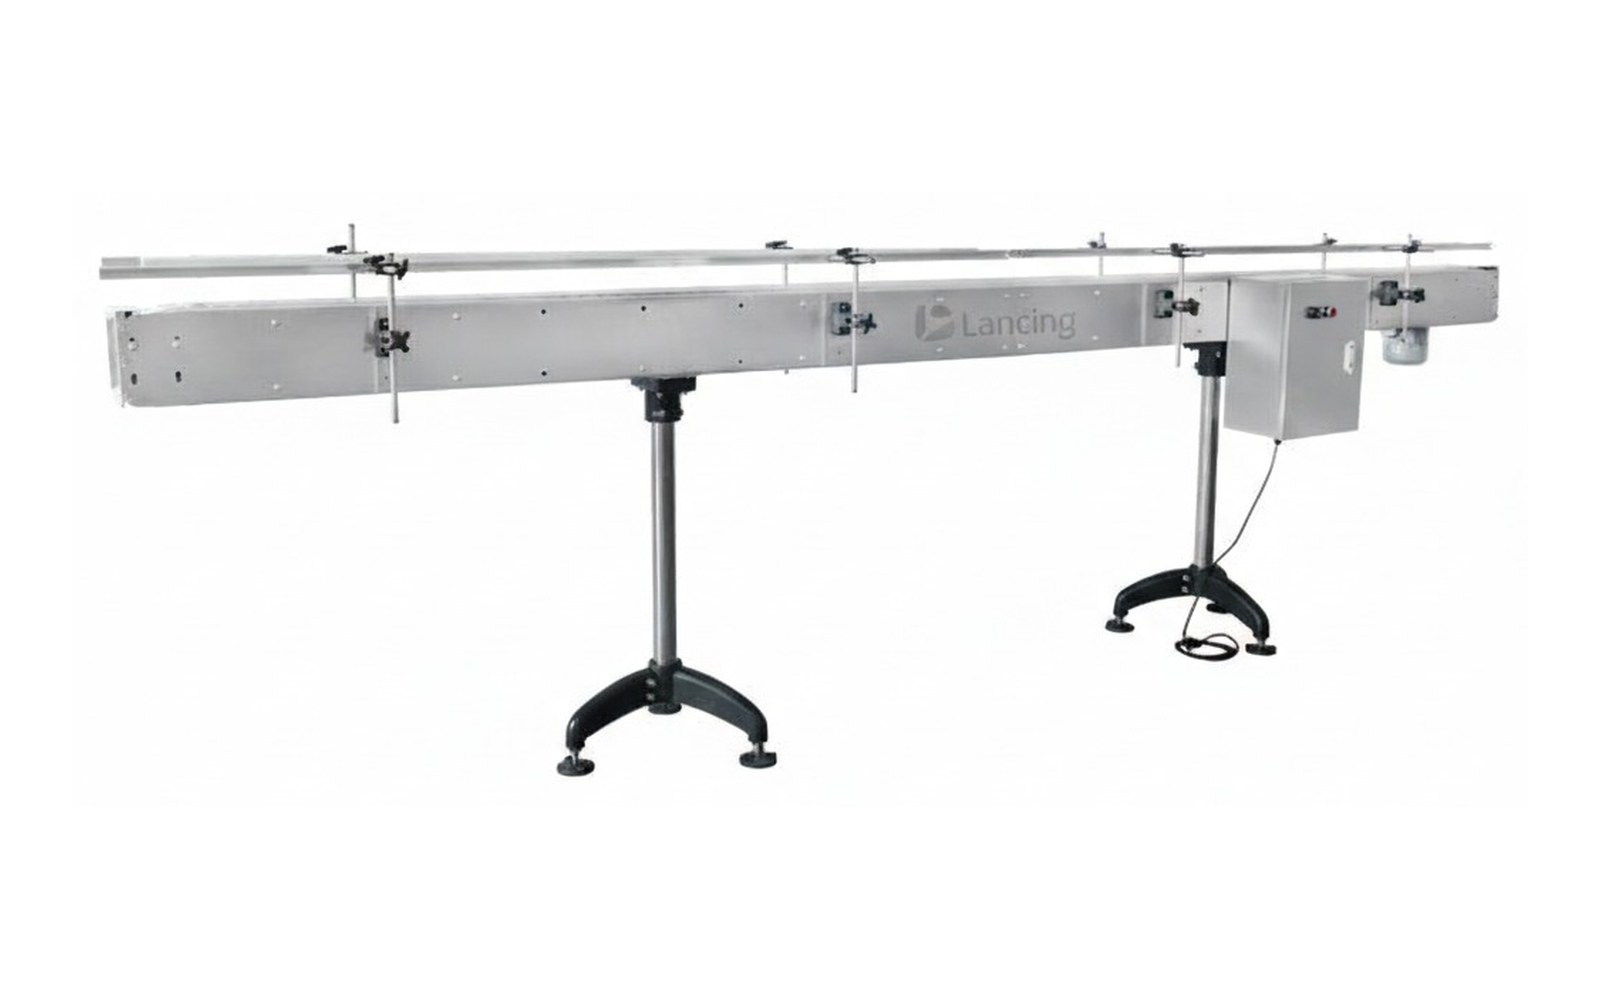
Small details at planning stage can prevent unstable transfers, awkward access and output issues later.
Confirm size, weight, base shape and stability before choosing the conveyor type.
Match conveyor height, speed and direction to the equipment on either side.
Keep room for loading, cleaning, adjustment, inspection and safe operation.
Decide whether the line needs accumulation to protect output during short stops.
These related pages help narrow down the conveyor type, layout and quote details.
Continue with practical conveyor information for your enquiry.
Open page →Continue with practical conveyor information for your enquiry.
Open page →Continue with practical conveyor information for your enquiry.
Open page →Clear answers for buyers comparing conveyor options and preparing an enquiry.
Spacing and stable transfer help inspection equipment work consistently and prevent product jams.
Often yes, but the layout needs enough straight length, access and safe reject handling.
Products usually move to packing, rejection, accumulation or end-of-line handling depending on the result and line layout.
Get practical conveyor advice based on the way your product needs to move through the line.
A checkweigher measures a moving product under conditions defined by the equipment supplier. The infeed conveyor must create stable, separated presentation; the weigh section must receive and release the pack without interference; and the outfeed must manage accepted and rejected products. Conveyor selection should therefore follow the checkweigher’s product, speed, spacing and transfer requirements.
Do not assume that matching conveyor-top heights is sufficient. Product base, gaps, acceleration, belt speeds, air movement, vibration, neighbouring product contact and guide pressure can affect the way a pack enters the weighing section. Use the checkweigher supplier’s current interface information and actual packs.
The product should reach the weigh conveyor at the required pitch and orientation. If packs touch, overlap or arrive at variable spacing, define how the infeed separates them: speed differential, metering, gating or an upstream process. The method must work through normal stop and restart, not only during a steady demonstration.
Guides should stabilise the pack without applying side load that conflicts with the equipment’s measurement requirement. A flexible pouch, tall bottle or wide tray may need different support. Record the permissible product envelope and any area that must remain clear around the weigh section.
The reject method, reject confirmation, bin or collection area and full condition should be defined. The conveyor must keep the product in the intended reject position and prevent a rejected pack from rejoining accepted output. A reject event should not destabilise following products or create a blockage at the discharge.
The control schedule should cover ready, run, fault, reject, reject confirmation, bin full, blocked outfeed and reset. Responsibilities between the checkweigher, conveyor and line controller must be explicit. For complete machine-to-machine signals, use the infeed and outfeed interface schedule.
| Interface item | Information required | Acceptance evidence |
|---|---|---|
| Product envelope | Dimensions, weight range, base, stability and orientation. | Full sample set accepted by checkweigher supplier. |
| Infeed pitch | Minimum/target spacing and how it is generated. | Timed run with close and irregular arrivals. |
| Transfer geometry | Heights, gaps, belt surfaces, speeds and guide clearance. | Dimensioned detail and actual-product transfer test. |
| Weigh-section isolation | Required clearance from guides, adjacent products and external contact. | Supplier interface approval and integrated run. |
| Reject system | Method, position, confirmation, collection and full response. | Challenge test using known reject products. |
| Outfeed and recovery | Accepted-product route, downstream block and restart sequence. | Blocked-outfeed and reset test. |
| Controls | Ready, fault, reject, confirm, bin full, blocked and line permissives. | Approved signal list and functional test. |
| Guarding and access | Reject access, clearing, cleaning and moving-part protection. | Risk review and operator walk-through. |
The test should include representative accepted products and known challenge products that exercise the reject threshold or inspection function under the equipment supplier’s procedure. Record line speed, product spacing, product condition, reject result and confirmation. The purpose is to prove the interface, not to redefine the checkweigher’s metrology.
Create irregular but realistic arrival conditions, a downstream stop, full reject collection if applicable and restart. Observe double products, contact on the weigh section, unstable transfer, missed reject confirmation and product left between zones.
Checkweigher accuracy, calibration and statutory or quality-system requirements remain the responsibility of the selected inspection equipment and the customer’s procedure. This page covers conveyor presentation and integration only.
These answers define the evidence needed for a reliable specification and quotation.
The equipment needs each product to occupy the measurement zone under its defined conditions. Touching, overlapping or closely following packs can interfere with measurement and reject tracking.
Only if the checkweigher design and supplier permit it. External contact can affect movement or measurement, so guide clearances and product stability must be agreed for the selected equipment.
Use known challenge products, verify the reject action and confirmation signal, and check that the pack reaches the correct collection point without affecting following accepted products.
The control sequence should define alarm, line stop or other approved response before rejected products are misdirected. The responsible supplier and reset method must be recorded.
No. It proves product presentation, transfers, reject and controls integration. Accuracy, calibration and compliance are verified under the checkweigher supplier’s and customer’s procedures.
The conveyor sections around a checkweigher must create the product presentation expected by the inspection equipment. Upstream accumulation, metering and transfer should deliver one correctly spaced pack into the measurement zone. The outfeed should preserve product tracking through the decision and reject point, then handle both accepted and rejected states without confusing the next product.
Use the checkweigher manufacturer’s interface and installation requirements as the controlling evidence for the measurement section. The surrounding conveyor project should document how products arrive, how line speed is coordinated, which device owns tracking, how the reject is confirmed and how the line responds when confirmation or downstream capacity is unavailable.
| Sequence stage | Conveyor responsibility | Acceptance evidence |
|---|---|---|
| Upstream buffer | Hold short interruptions without releasing an uncontrolled block of products. | Defined queue response and stable metered restart. |
| Product separation | Create the pitch required for one product at a time in the measurement zone. | No doubles, contact or loss of tracking with limiting formats. |
| Transfer to weigh section | Maintain alignment and support without an abrupt gap, height or speed change. | Stable entry at normal running and after a stop. |
| Measurement and decision | Keep surrounding conveyor behaviour consistent with the inspection system requirements. | Known test packs are tracked through the correct decision state. |
| Reject event | Preserve product identity and provide the required space for the reject action. | Target product rejected without disturbing adjacent products. |
| Reject confirmation | Return a verified state or invoke the agreed fault response. | Missing or failed reject produces the documented alarm and line action. |
| Outfeed recovery | Prevent downstream blocking from invalidating tracking or flooding the reject area. | Controlled stop, retained product status and repeatable restart. |
Record whether the checkweigher supplies the infeed, weigh and outfeed belts as one system or interfaces with separate conveyors. Define speed reference, product-detection sensors, tracking boundaries, reject device, reject confirmation, bin or collection-state monitoring and the signal that stops upstream equipment. Do not duplicate tracking logic in two controllers without an agreed master.
Review the upstream route using the infeed and outfeed conveyor page, the mechanical gap using the transfer-point guidance, and related camera or code checks through coding and inspection conveyors.
Test the smallest, largest and least stable packs, known accepted and rejected products, close spacing, an upstream queue, downstream block, reject confirmation failure and controlled restart. Record the product set, speed state, sensor and reject sequence, result and operator action. The test should establish when the system is again in a valid measuring state after an interruption.
Acceptance should include stop, fault, reject and restart conditions as well as normal production.
A buffer can be positioned upstream, but products must be released into the measurement section with the spacing and presentation required by the checkweigher. Uncontrolled contact or double presentation can invalidate tracking and reject decisions.
The agreed functional description should define the alarm, line response, product status and reset method so an unconfirmed reject cannot be treated as a verified result. The exact sequence must match the inspection system and site procedure.
Restart can temporarily change product pitch, belt speed, tracking or transfer stability. Test the full stop-and-restart state with known packs and confirm when normal measurement conditions have been restored.
A checkweigher interface needs more than a conveyor that reaches the correct height. The product must enter singly, remain stable through the weighing section and be associated with the correct accept or reject result.
Record incoming pitch, speed relationships and the sensor or tracking method. Test close products, gaps, skewed packs and a controlled downstream block. Confirm reject actuation, reject confirmation and the response to a failed reject without confusing the result with checkweigher calibration or accuracy validation.
Restart testing is important because a surge can remove the spacing established before the weigh section. Controls and mechanical transfer settings should be accepted together.
Use the speed and spacing guide, controls guide and FAT/SAT checklist.
A checkweigher interface succeeds only when each pack is separated, weighed, tracked and rejected through a defined sequence.
Accumulation is designed to store product, while metering is designed to present one controlled pack at a time. If the same zone tries to perform both duties, changing back pressure or a full buffer can destroy the pitch required by the checkweigher. Use a defined transition between storage and metering, with sensing and speed control that can recover after a blocked condition.
The pitch must provide enough separation for the checkweigher’s weighing, tracking and reject logic, not only avoid physical contact. Longer packs occupy the system for longer and may reduce the available gap at the same conveyor speed. Confirm the required leading-edge spacing with the checkweigher supplier and prove it at normal flow and restart.
The line response should be agreed before commissioning. Depending on the validated system design, the missing confirmation may stop product release, stop the relevant zone, raise a fault or require a controlled investigation. The important point is that a failed reject cannot pass silently. Test the fault deliberately and record how the affected product is identified.
Define whether the reject container needs presence, position or capacity monitoring and which equipment owns the device and logic. The required response should prevent rejected packs from returning to good product or accumulating outside the intended area. Include the condition in the interface matrix and acceptance test, using the actual reject route.
A checkweigher result should remain associated with the same physical pack as it travels to the reject point. The acceptance test therefore needs more than an actuator check: it should prove product separation, tracking through the conveyor zones, the reject command, physical removal, confirmation and the defined failed-reject response.
| Challenge condition | Expected evidence |
|---|---|
| Single designated reject | Correct result, tracking identity, reject command and confirmation. |
| Good pack immediately before and after | Reject removed without disturbing or misclassifying adjacent good product. |
| Minimum permitted pitch | Product identity remains controlled through the full reject window. |
| Missing reject confirmation | Agreed fault, stop, indication, product disposition and reset process. |
| Reject destination full or blocked | Further unverified product is prevented from continuing. |
| Power or line restart | Products already between weigh and reject points are resolved before release. |
Use the full reject handling and confirmation guide to compare mechanical methods and document the failure states.
If products arrive from several packing lanes or an accumulation table, the upstream conveyor must create one controlled stream before the weighing section. The merge should provide enough gap for stable transfer, independent weighing, decision tracking and reject actuation.
Use the lane merging and singulation guide to define the incoming streams and the indexing conveyor guide only where the process genuinely requires a stop. A conventional checkweigher normally depends on controlled continuous presentation rather than an unnecessary dwell.